1. How to put Customer details
Step-by-Step: Adding Customer Details in Odoo
STEP 1
Open the Odoo Dashboard
Log in to your Odoo .
From the main dashboard, click on the Sales module.
STEP 2
Go to Customers
Click on Customers from the top menu
You’re already seeing all contacts (customers, vendors, etc.).
Use the filter: Filters > Customers.

STEP 3
Fill in Customer Details
Below are common fields you should make sure are filled in :
Name: Customer’s full name or company name
Address: Street, City, ZIP, Country
Phone: Customer phone number
Email: Customer email address
Salesperson: Assign a responsible user

STEP 4
TIN NUMBER AND VAT NUMBER
Fiscal Information :
- VAT Number goes to the Tax ID field
- Tin number - click "Sales and purchases" > Company ID

STEP 5
Save the Customer
Click the “Save” button at the top left.
2. Adding HS CODE on product lists in Odoo
Step-by-Step: Adding HS CODE on product lists in Odoo
STEP 1
OPEN THE INVENTRY LIST
Go to the Odoo Dashboard
Open either:
Sales
Inventory > Website (if you're using eCommerce)
Click on Products > Products

STEP 2
INSERTING THE HS CODE
- You'll now see a list of all products.
You can search, filter, or sort them.
Click on any product to view its details
Add a space in front of the product description, followed by the HS Code, as shown below.
COCKTAIL 99001000

- Click the save icon
3. How to view, failed [with error messages]and fiscal invoices
STEP 1
Steps to Access the Apps Menu in Odoo
1. Log in to Odoo
Use your admin or user credentials to log into your Odoo .
2. Go to the Apps Module
From the main dashboard, look for the “Apps” icon (usually a grey box with 4 white squares).
Click on Apps
This opens the Apps Store within your Odoo system.
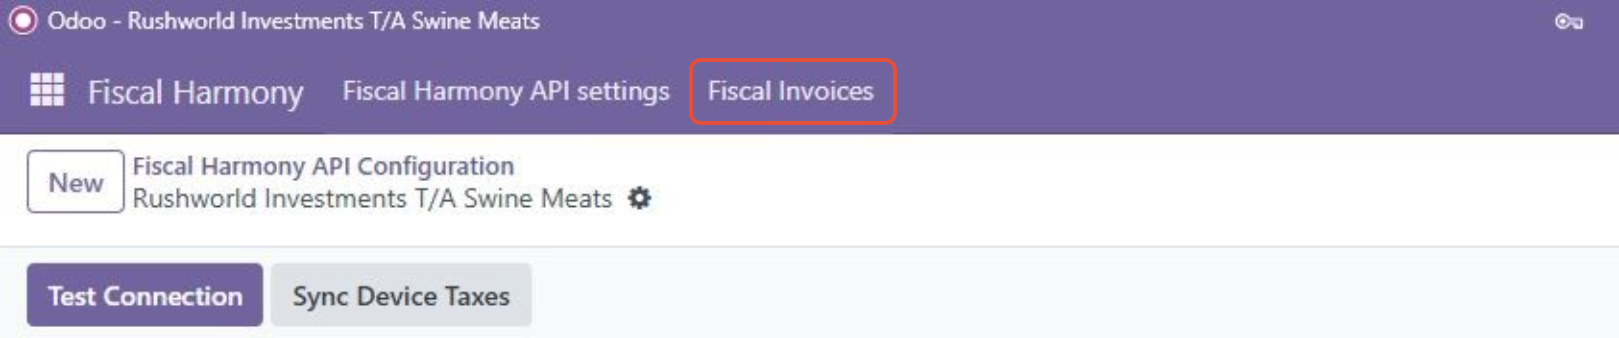
You will see a list of available apps/modules, scroll down and click FISCAL HARMONY

STEP 2
Viewing Categorized Fiscal Invoices
Click on the “Fiscal Invoices” tab/menu.
A dropdown menu will appear, displaying invoices categorized into:
FAILED – Invoices that failed to fiscalize. This category also displays the reason why invoices did not
go though
PENDING – Invoices awaiting fiscalization.
FISCALIZED – Successfully fiscalized invoices.
Viewing Final Fiscal Invoice
Go to the Login Page [ click here to access your fiscal harmony portal ]
Log in to Your Account
Navigate to the Logs Section
On the left-hand menu, look for and click "LOGS".Filter the Invoices
Use the available filters at the top of the Logs page.
Choose your preferred view:ALL – See every invoice attempt
FAILED – View only invoices that failed submission or validation
SUCCESSFUL – View only invoices that were processed successfully
Was this article helpful?
That’s Great!
Thank you for your feedback
Sorry! We couldn't be helpful
Thank you for your feedback
Feedback sent
We appreciate your effort and will try to fix the article